⚙️ Get Started#
This page walks you through installing pywa, creating a WhatsApp app on Meta, and sending your first message. If you already have your Phone ID and Token, jump straight to Send a Message.
⬇️ Installation#
Install using pip:
pip3 install -U pywa
Install from source (bleeding edge):
git clone https://github.com/david-lev/pywa.git
cd pywa && pip3 install -U .
For webhook features:
pip3 install -U "pywa[server]"
For Flow features with default encryption/decryption:
pip3 install -U "pywa[cryptography]"
Create a WhatsApp Application#
Already have a Facebook App? Jump to Setup the App →
To use the WhatsApp Cloud API, you need a Facebook App. If you don’t have a Facebook Developer account, register here.
Go to Meta for Developers > My Apps and create a new app. - Or click here to go directly to the app creation page.
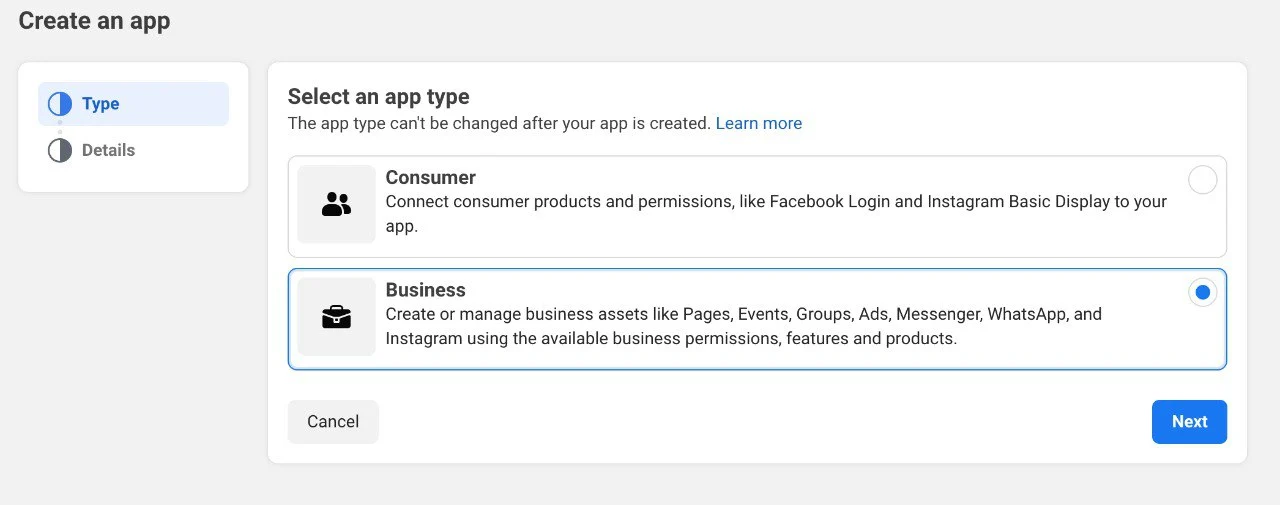
Select Business as the app type and click Next.
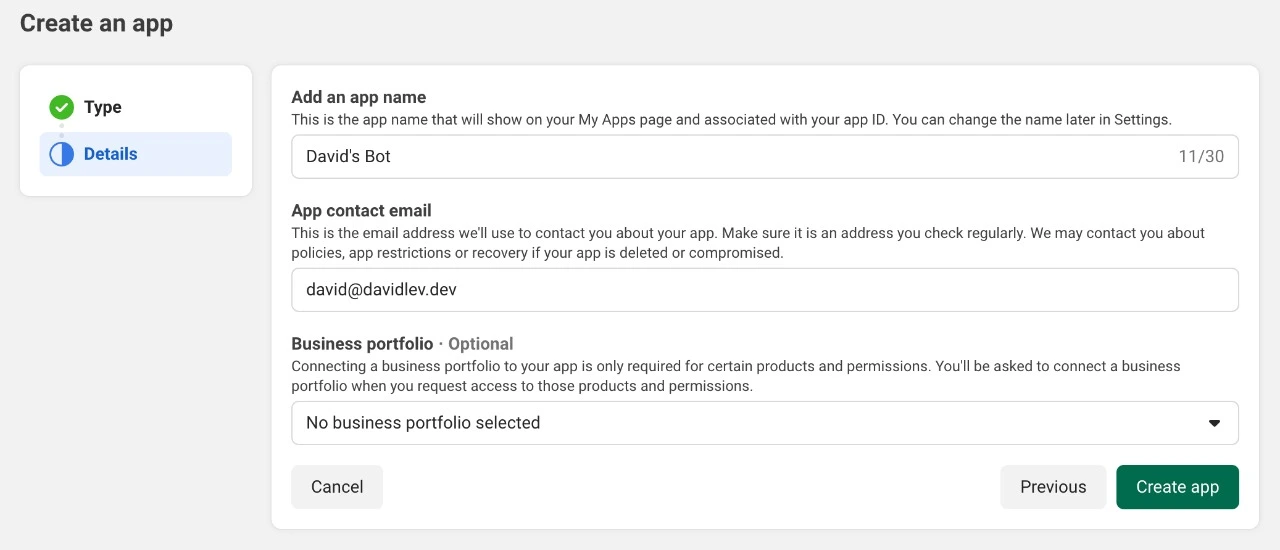
Fill in the app name and email, then click Create App.
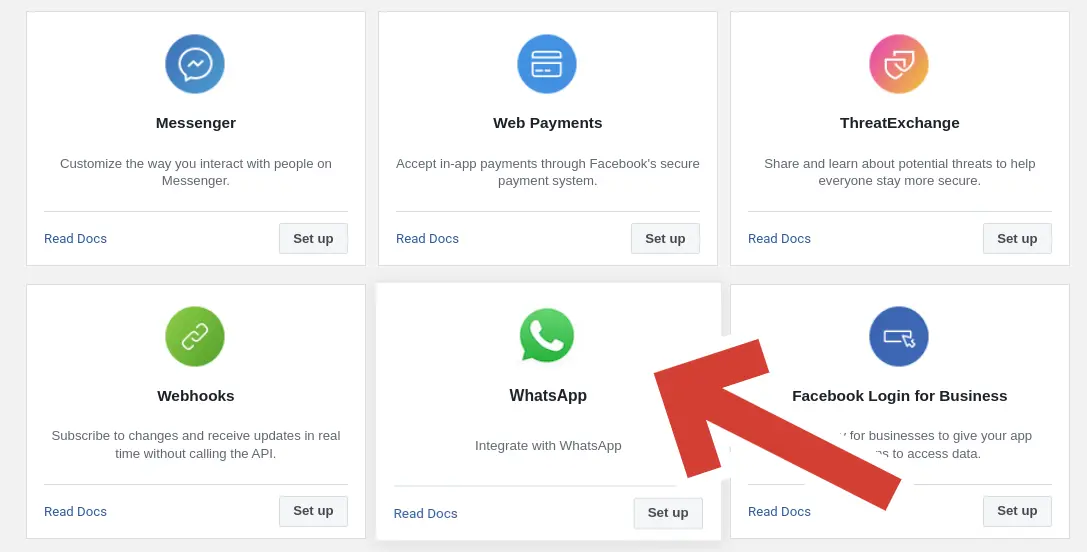
In Add products to your app, search for WhatsApp and click Set Up.
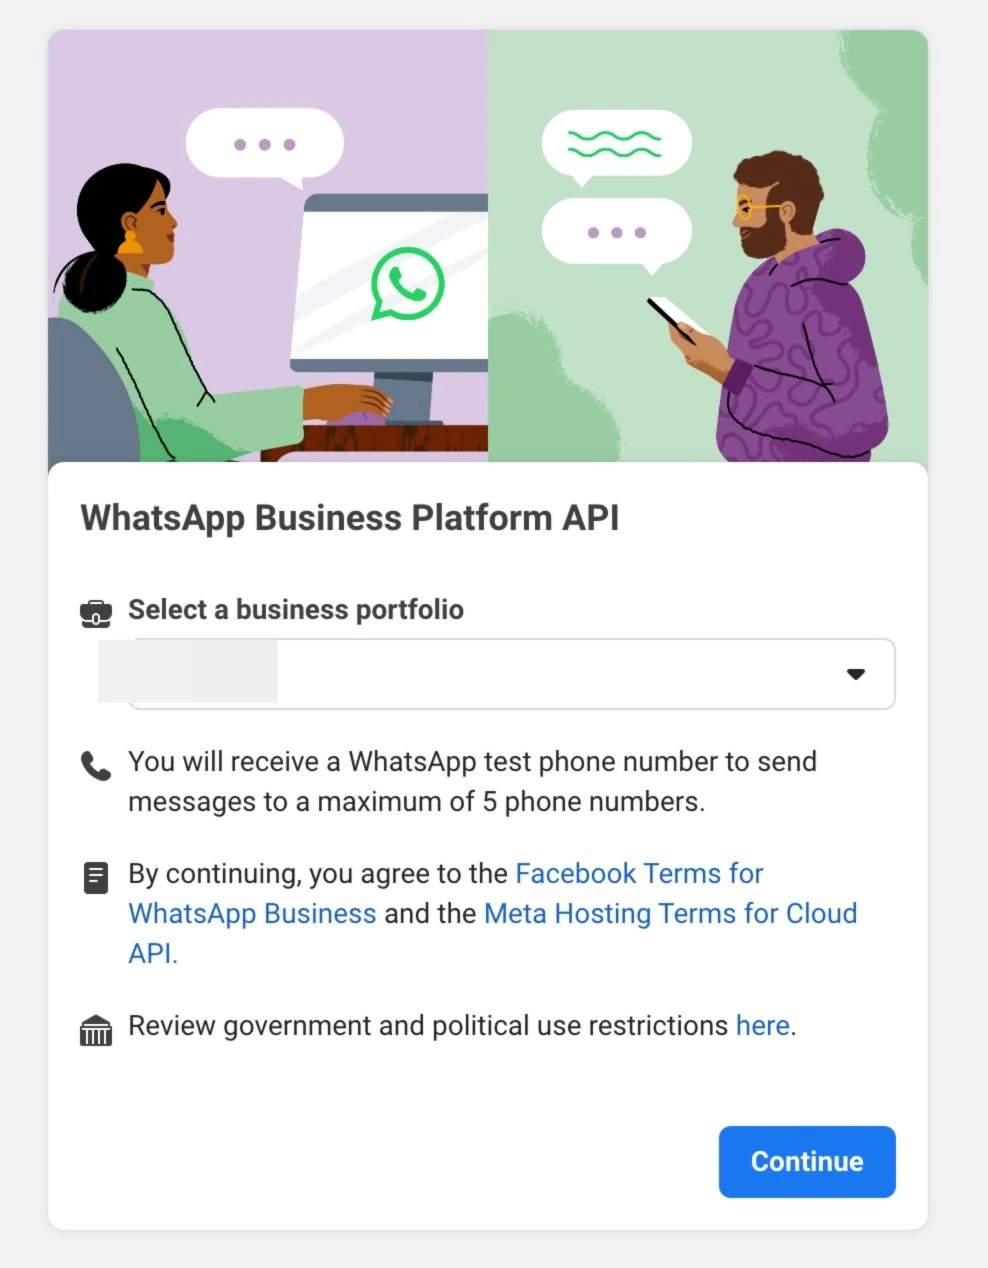
Select a Meta Business Account, accept the terms, and click Submit. If you don’t have a Business Account, you will need to create one.
Setup the App#
Already have your Phone ID and Token? Jump to Send a Message →
In the left menu (under Products), expand WhatsApp and click API Setup.
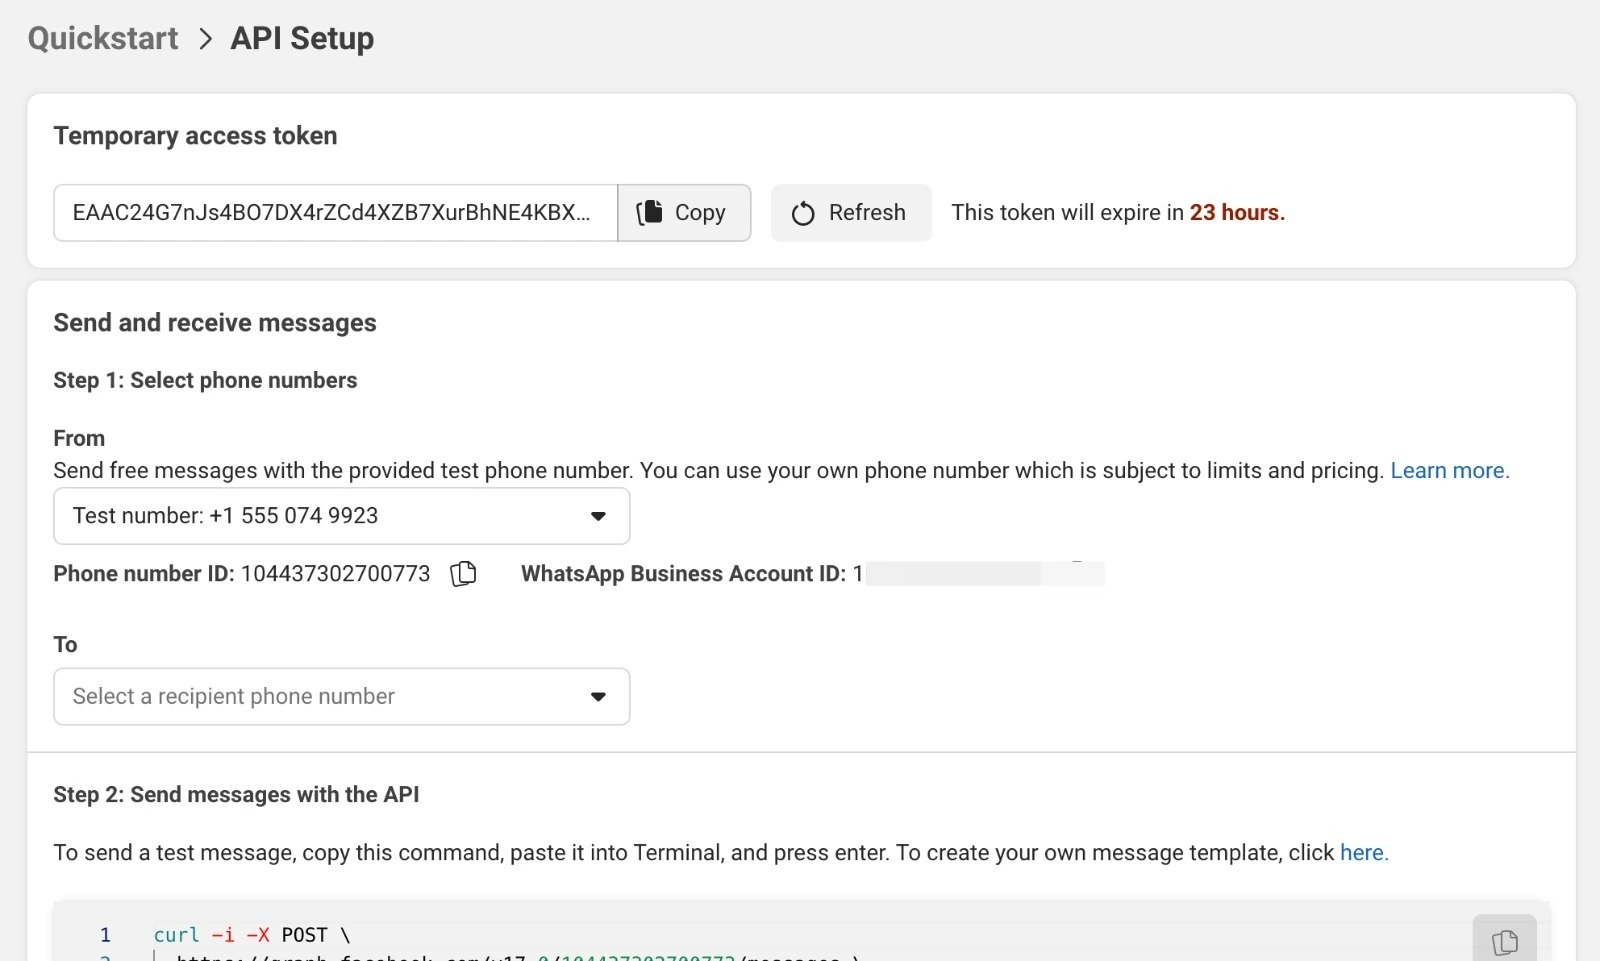
Copy the Temporary access token (valid for 24h) and the Phone number ID.
Note
Attention
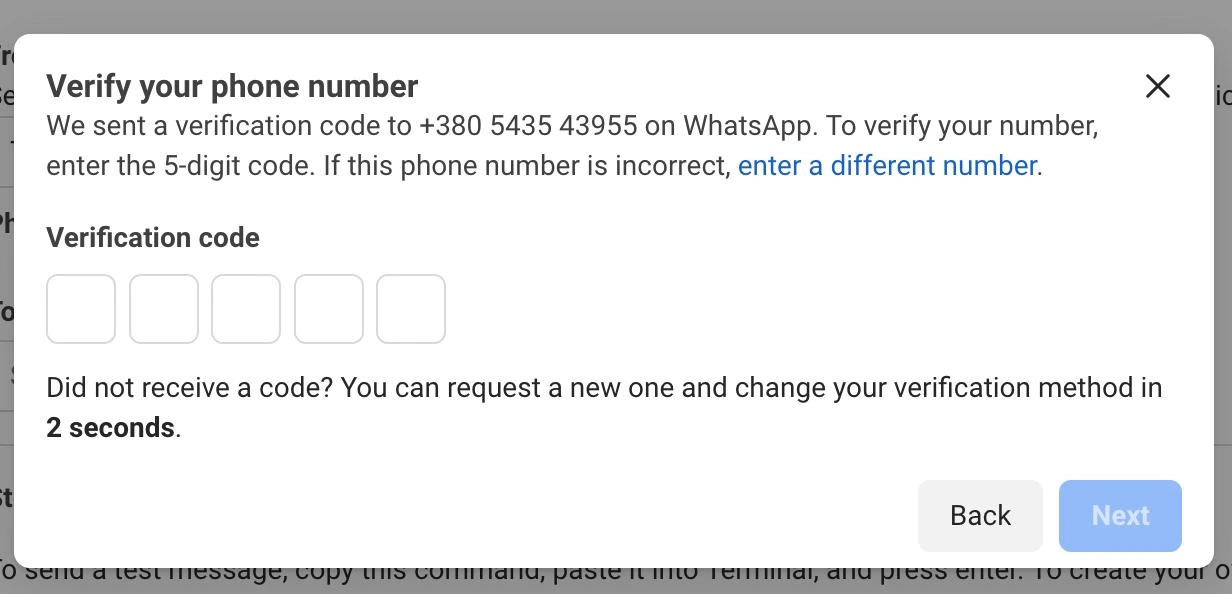
If you haven’t connected a real phone number, you can use a test number provided by Meta. You can send messages to up to 5 allowed numbers. Add them in the Manage phone number list.
Send a Message#
Now that you have your phone_id and token, you’re ready to send messages:
from pywa import WhatsApp

wa = WhatsApp(
    phone_id='YOUR_PHONE_ID',  # from API Setup
    token='YOUR_TOKEN'         # from API Setup
)

# Send a text message
wa.send_message(
    to='PHONE_NUMBER_TO_SEND_TO',
    text='Hi! This message was sent from pywa!'
)

# Send an image
wa.send_image(
    to='PHONE_NUMBER_TO_SEND_TO',
    image='https://www.rd.com/wp-content/uploads/2021/04/GettyImages-1053735888-scaled.jpg'
)
Note
For Test Numbers, add recipients to the allowed numbers list.
Free-form messages can only be received if the recipient messaged your number in the last 24h. See WhatsApp policy.
Quick Start#
Here’s a brief overview of the main pywa concepts — click any link to dive deeper:
WhatsApp: The core client. Use it to send messages, manage your business profile, and register handlers. Everything starts here.
Handlers: Register callbacks that fire when a user sends a message, presses a button, or triggers any other update. The backbone of every bot.
Listeners: Wait for a user’s next reply inline, without registering a separate handler. Perfect for step-by-step conversations.
Filters: Composable conditions that decide which updates a handler processes. Combine them with
&,|, and~like Python expressions.Updates: All the types of incoming events — messages, button clicks, delivery statuses, flow completions, and more.
Flows: Build rich, multi-screen interactive WhatsApp experiences entirely in Python.
Errors: How pywa surfaces API errors and how to handle them gracefully.
Examples: Complete, runnable bots and code snippets to get inspired.