⚙️ Get Started#
⬇️ Installation#
Install using pip3:
pip3 install -U pywa
Install from source (the bleeding edge):
git clone https://github.com/david-lev/pywa.git
cd pywa && pip3 install -U .
If you going to use the webhook features, here is shortcut to install the required dependencies:
pip3 install -U pywa[flask]
pip3 install -U pywa[fastapi]
Setup#
Note
This guide will explain how to setup the WhatsApp Business API and how to use the pywa package.
Create a WhatsApp Application#
You already have an app? skip to Setup the WhatsApp Business API.
In order to use the WhatsApp Business API, you need to create a Facebook App. For that you need to have a Facebook developer account. If you don’t have one, you can register here.
After that you need to create a new app. Follow the steps below:
- Go to Meta for Developers > My Apps and create a new app
Click here to go directly to the app creation page
Select Other as the use case and hit next
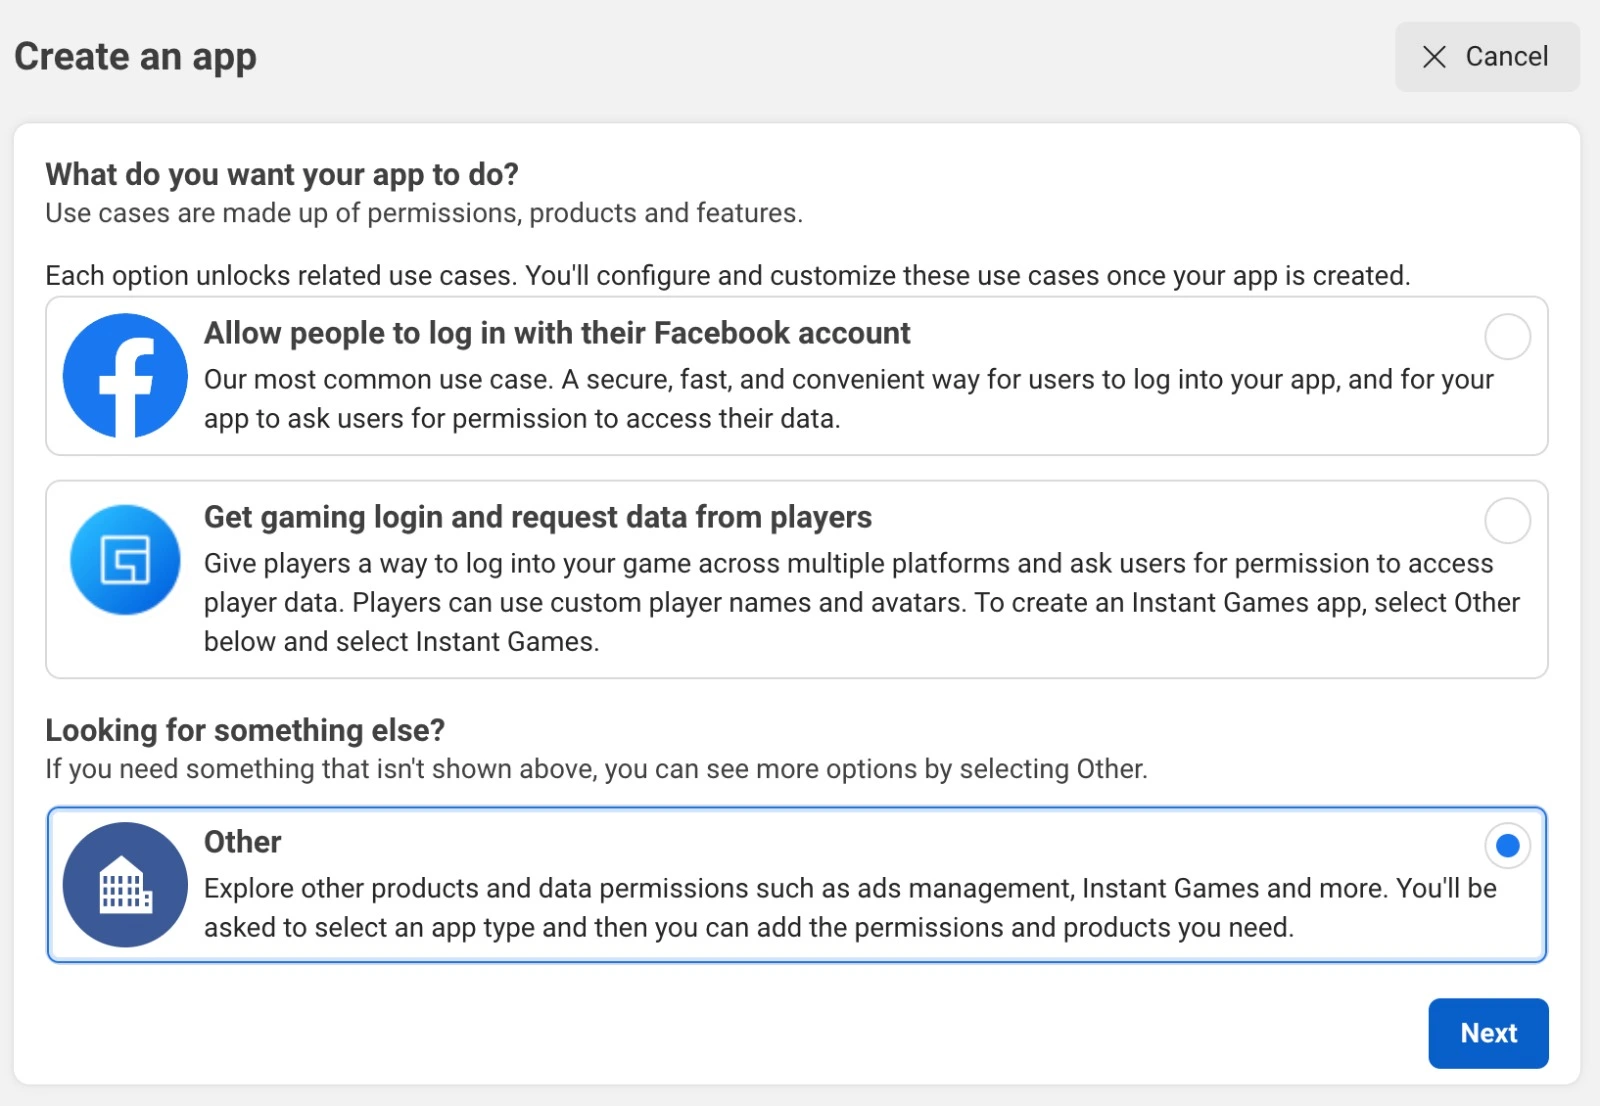
Select Business as the app type and hit next
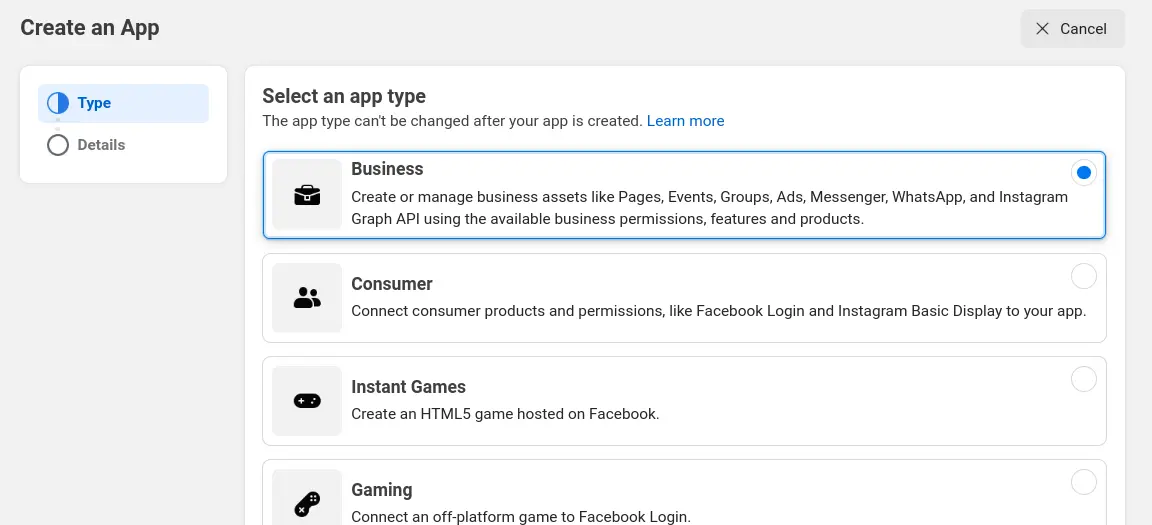
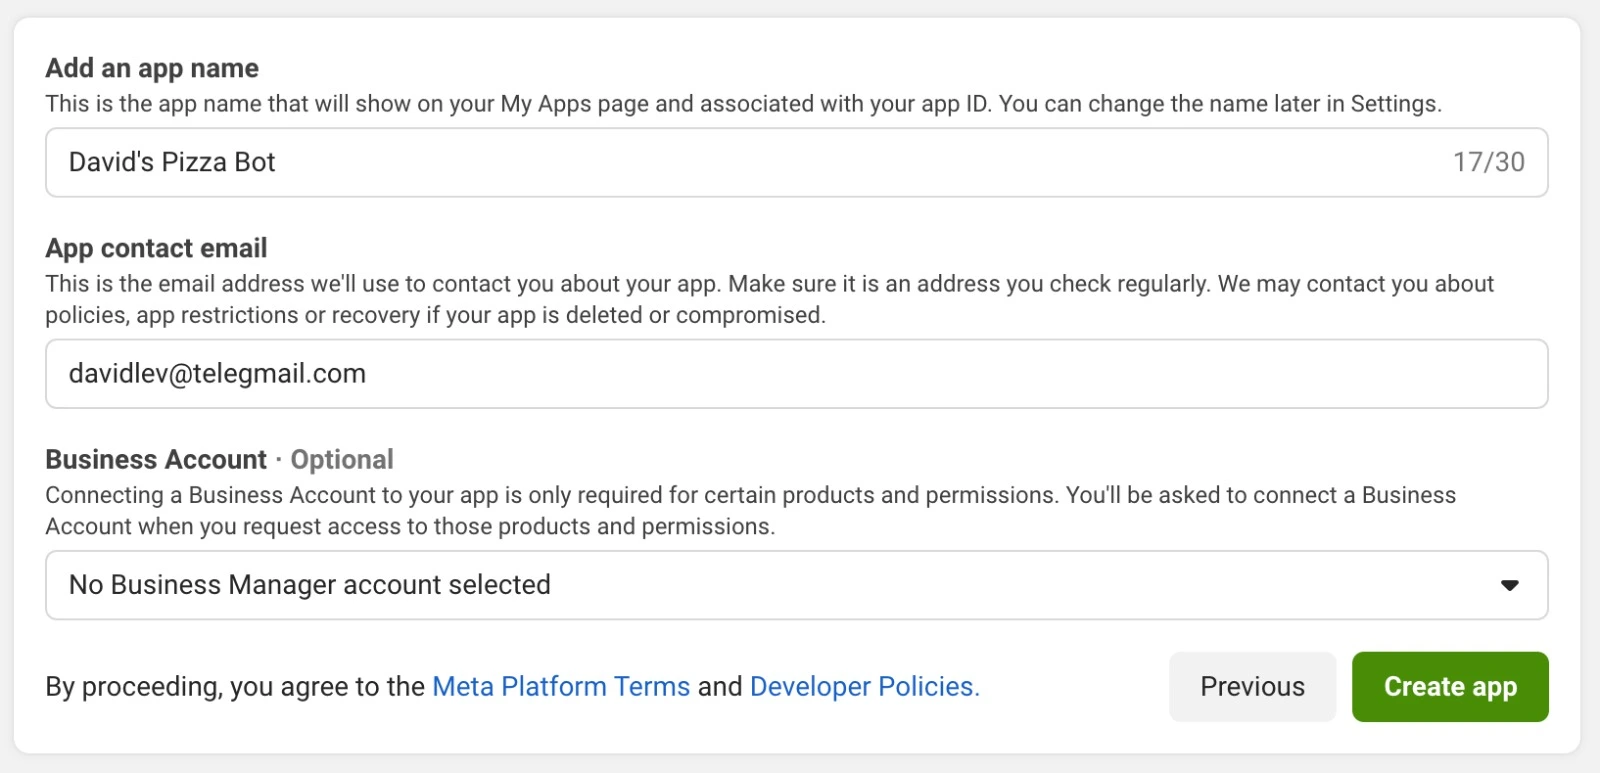
Fill the app name and the email and hit create app
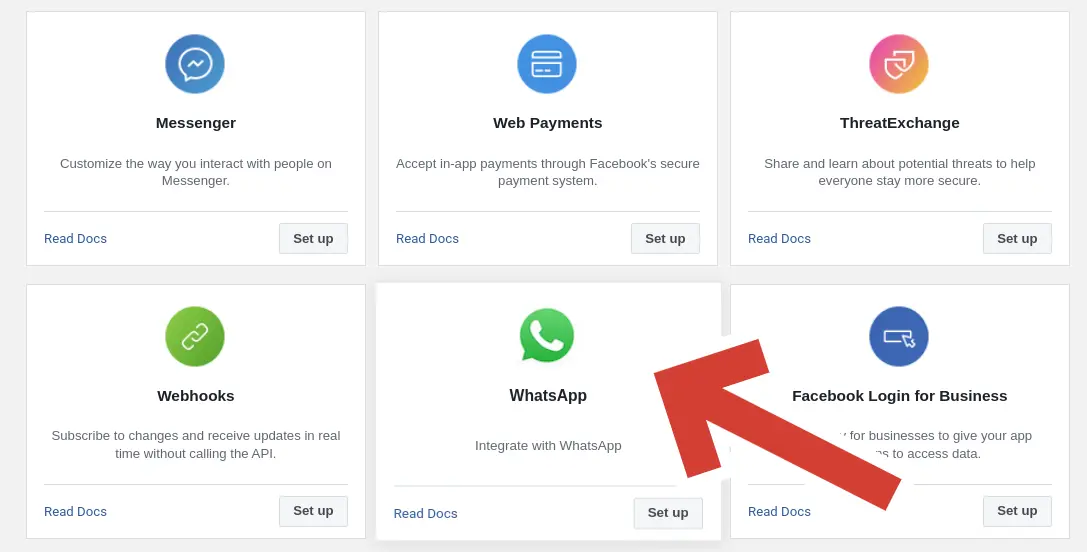
In the Add products to your app screen, scroll down and search for WhatsApp. Click on Set Up
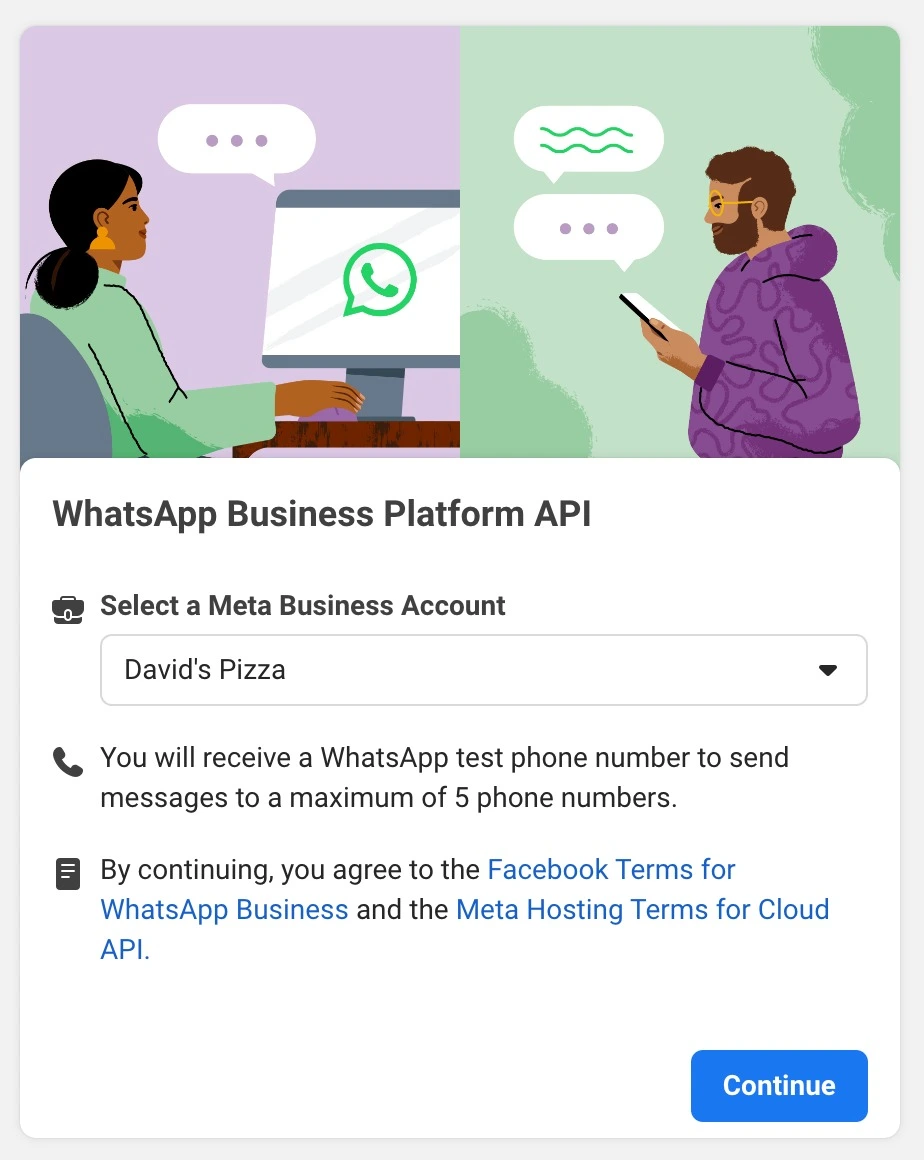
6. At this point you will be asked to select a Meta Business Account. If you have one - select it and hit Next. Accept the terms and conditions and hit Submit.
Setup the WhatsApp Business API#
You already have Phone ID and Token? skip to Send a Message.
Now, in the left menu (under Products), expand WhatsApp and click on API Setup. The following screen will appear:
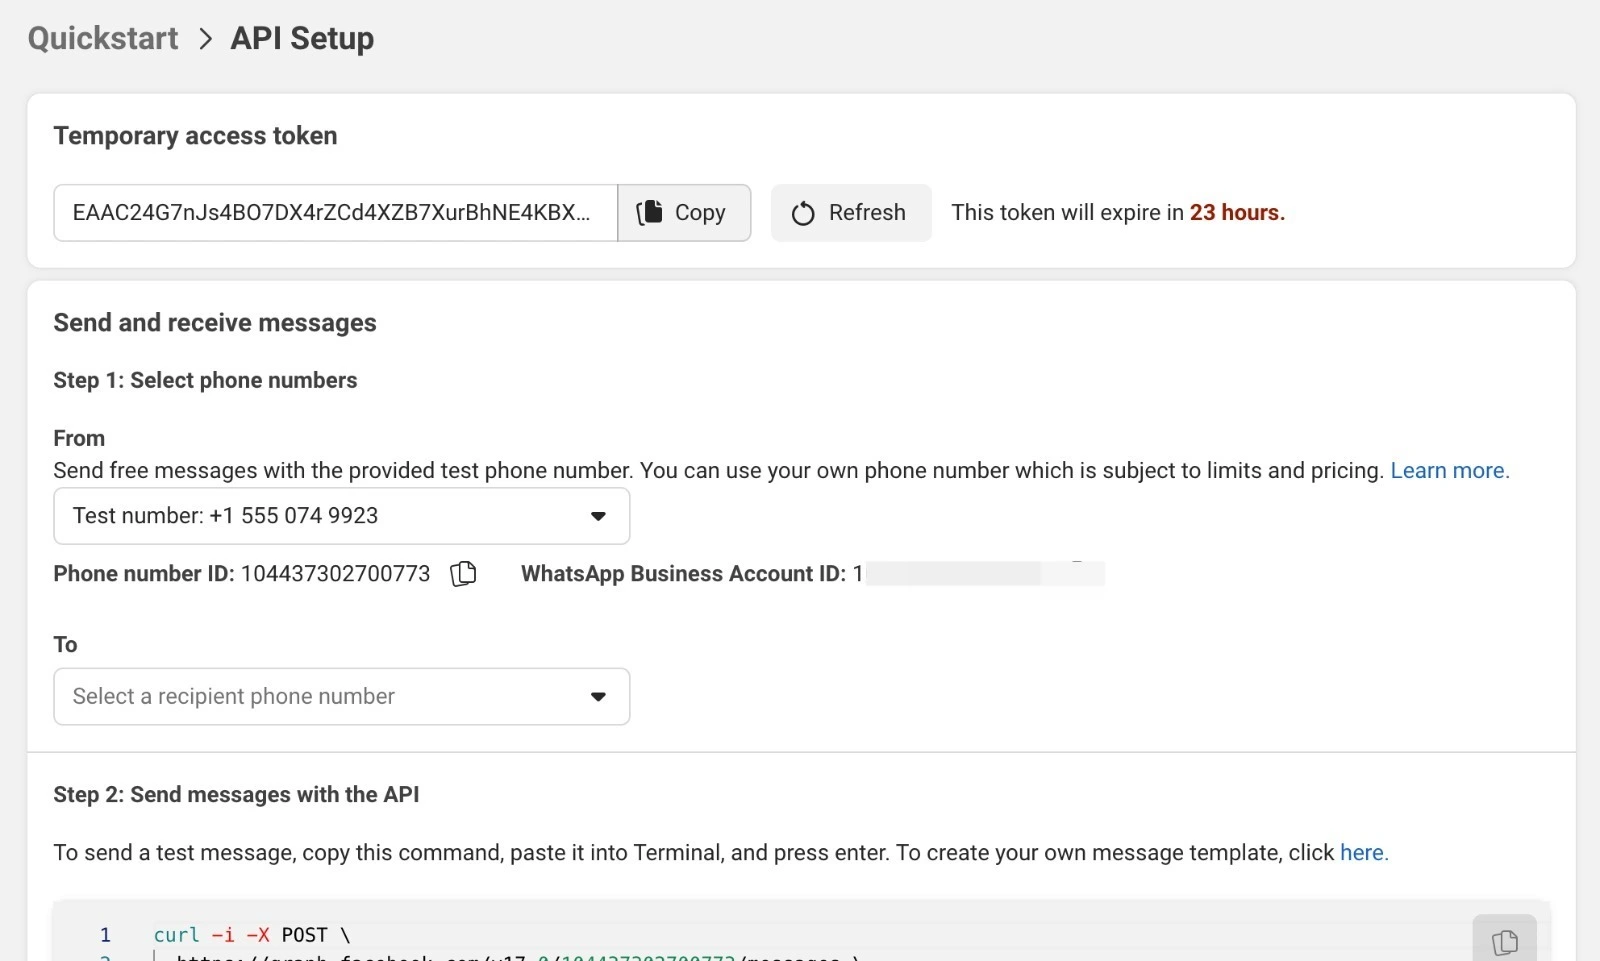
In the top you will see a Temporary access token. This is the token you will use to connect to the WhatsApp Business API. Right below it you will see the Send and receive messages. Below it you will see the Phone number ID. This is the ID of the phone number you will use to send and receive messages. You will need to use them in the next step.
Note
- The Temporary access token is valid for 24 hours. After that you will need to generate a new one.
Attention
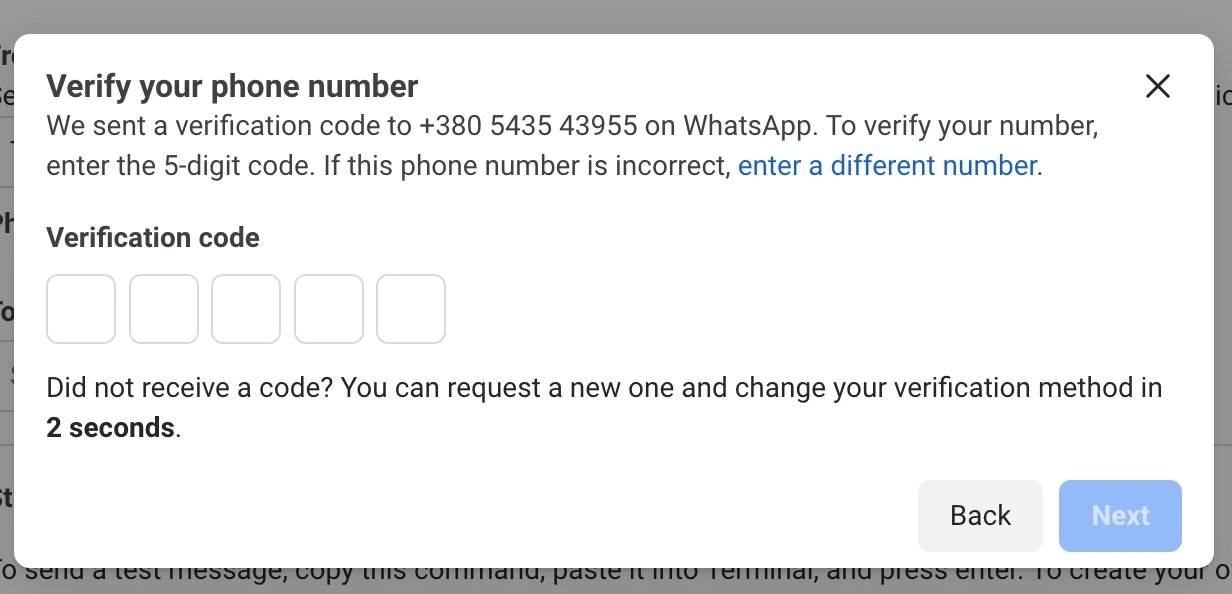
If you haven’t connected a real phone number to your app, you have the option to use a test phone number.
This is a phone number that is provided by Meta and can be used for testing purposes only. You can send messages
up to 5 different numbers and you must authenticate every one of them (Select the Test number in the From field
and add the number you want to send the message to in the To field. Then click on Send. You will receive a
6 digit code to the WhatsApp account of the number you added. Copy the code and paste it in the Verification code field and hit Next).
Send a Message#
So now you have a phone id and a token. You can use them to send messages:
from pywa import WhatsApp

wa = WhatsApp(
    phone_id='YOUR_PHONE_ID',
    token='YOUR_TOKEN'
)
And that’s it! You are ready to send messages!
wa.send_message(
    to='PHONE_NUMBER_TO_SEND_TO',
    text='Hi! This message sent from pywa!'
)

wa.send_image(
    to='PHONE_NUMBER_TO_SEND_TO',
    image='https://www.rd.com/wp-content/uploads/2021/04/GettyImages-1053735888-scaled.jpg'
)
Note
The
toparameter must be a phone number with the country code. For example:+972123456789,16315551234. You can read more about the phone number format here.If you using the Test Number, remember to add the recipient number to the allowed numbers list.
Quick Start#
Now you can continue to the next section and learn how to use the pywa package. here is a quick overview of the package:
The WhatsApp Client: is the core of the package. It is used to send and receive messages and media, handle orders, manage the business profile and settings and more.
The Handlers are used to handle incoming messages and events. This way you can register a handler to a specific event and handle it.
The Filters section will explain how to provide filters to the handlers. Filters are used to filter the incoming messages and events. For example, you can register a handler to handle all the text message that starts with
HelloorHi.The Updates are the incoming messages and events that the client receives. It contains the available data for each message and event. For example, the
Messageupdate is arrived user send a text, media, location contact and other types of messages. Every update has it’s own methods and properties.The errors that the client can raise. For example, if you try to send message from your test number to a number that is not in the recipients list, the client will raise a
RecipientNotInAllowedList.The Examples section contains examples of how to use the package.